York 304 SA/York 316 SA – Self-Adhering Stainless Steel Installation Instructions
General Notes:
- Membrane shall be installed on a clean, dry, and smooth substrate.
- Install where indicated, specified, or required following the manufacturer’s written instructions and as follows.
- Splice end joints by overlapping the membrane a minimum of two inches, and seal the leading edge with a compatible sealant or metal splice tape.
- Seal all terminations, detailing, leading-edge, and protrusions with compatible sealant.
- Install the membrane using a hard roller and roll the membrane with constant, firm pressure to ensure uniform contact with the substrate.
- When installing the membrane at a 90° or greater angle, prebend the membrane and roll the crease before removing the release liner and installation.
- When installing the membrane over an air barrier, sealants, or below grade waterproofing those items must be fully cured.
Transition Membrane between two dissimilar materials (i.e. wall to roofing air barrier):
Two methods of installation:
- Materials to be transitioned must lap onto the stainless steel face of the membrane a minimum of 2”. Leave a separation between dissimilar materials.
- Install the membrane on top of the fully cured lower air barrier, and install the higher air barrier lapped over the top of the stainless steel to avoid a reverse lap. Confirm that the membrane adhesive is compatible with the lower air barrier material.
Transition to Below Grade Waterproofing:
- Below-grade waterproofing material must be fully cured before installing the membrane.
- The membrane must lap over the below grade waterproofing a minimum of 2”.
- Seal all edges with compatible sealant.
Curtain Wall, Storefront and Rough Openings:
- Cut the membrane into manageable lengths and remove the release liner.
- Apply the membrane from the lowest point upward, overlapping horizontal edges a minimum of 2” in a shingle fashion. Sill first, then jambs, and install the head membrane last.
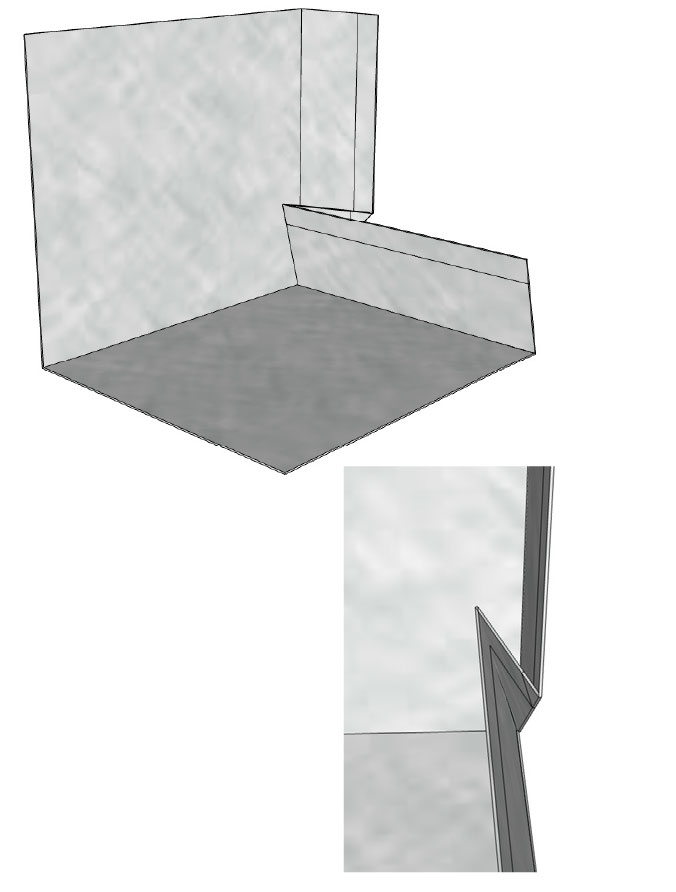
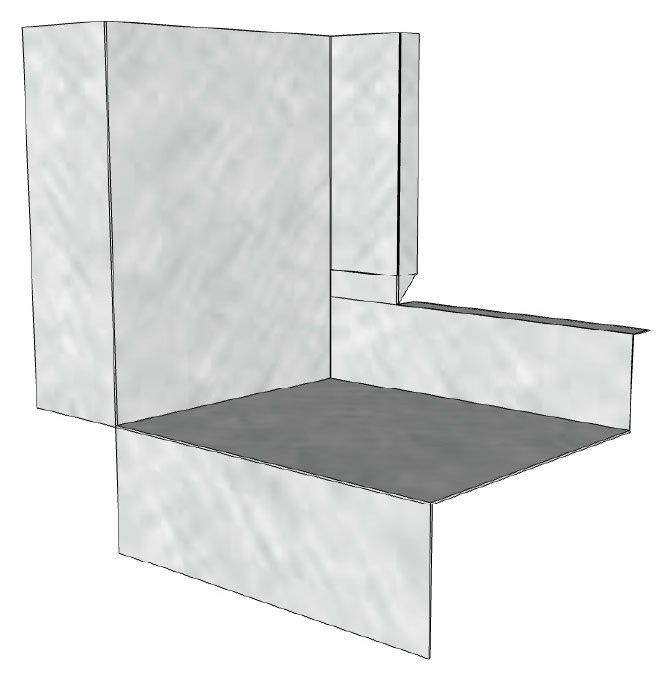
- The membrane on the sill can be formed into a sill pan (see below).
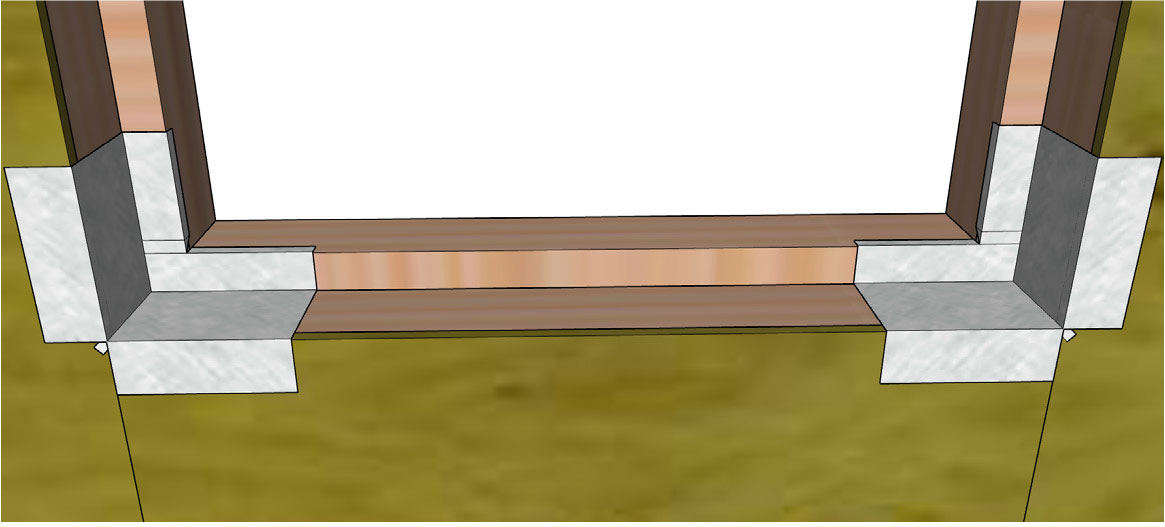
Sill Pan:
- Measure the opening and cut the membrane to accommodate the opening and the back dam height.
- Fold membrane top to the required height (1” is the standard height), pinch, fold, and turn the corner into an end dam.
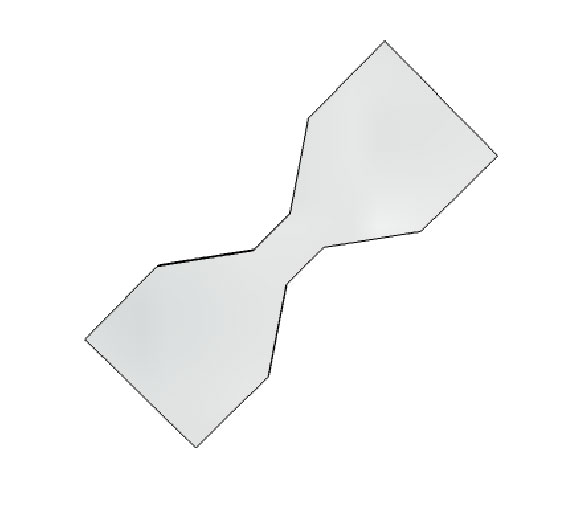
- Cut a piece of membrane into a bowtie or hourglass shape to cover pinhole void at each exterior corner.
- Remove the release liner and press the membrane into place.
- Cut the membrane at the corner to create the downward leg of the sill pan.
- Sill pan can be either one monolithic piece or multiple pieces to accommodate the installation.
- Seal all edges and over the bowtie area with compatible sealant.
Parapet Flashing:
- Materials to be transitioned must lap onto the stainless steel face of the membrane a minimum of 2”. Leave a separation between dissimilar materials.
- Install the membrane on top of the fully cured lower air barrier and install the higher air barrier lapped over the top of the membrane to avoid a reverse lap. Confirm that the membrane adhesive is compatible with the lower air barrier material.
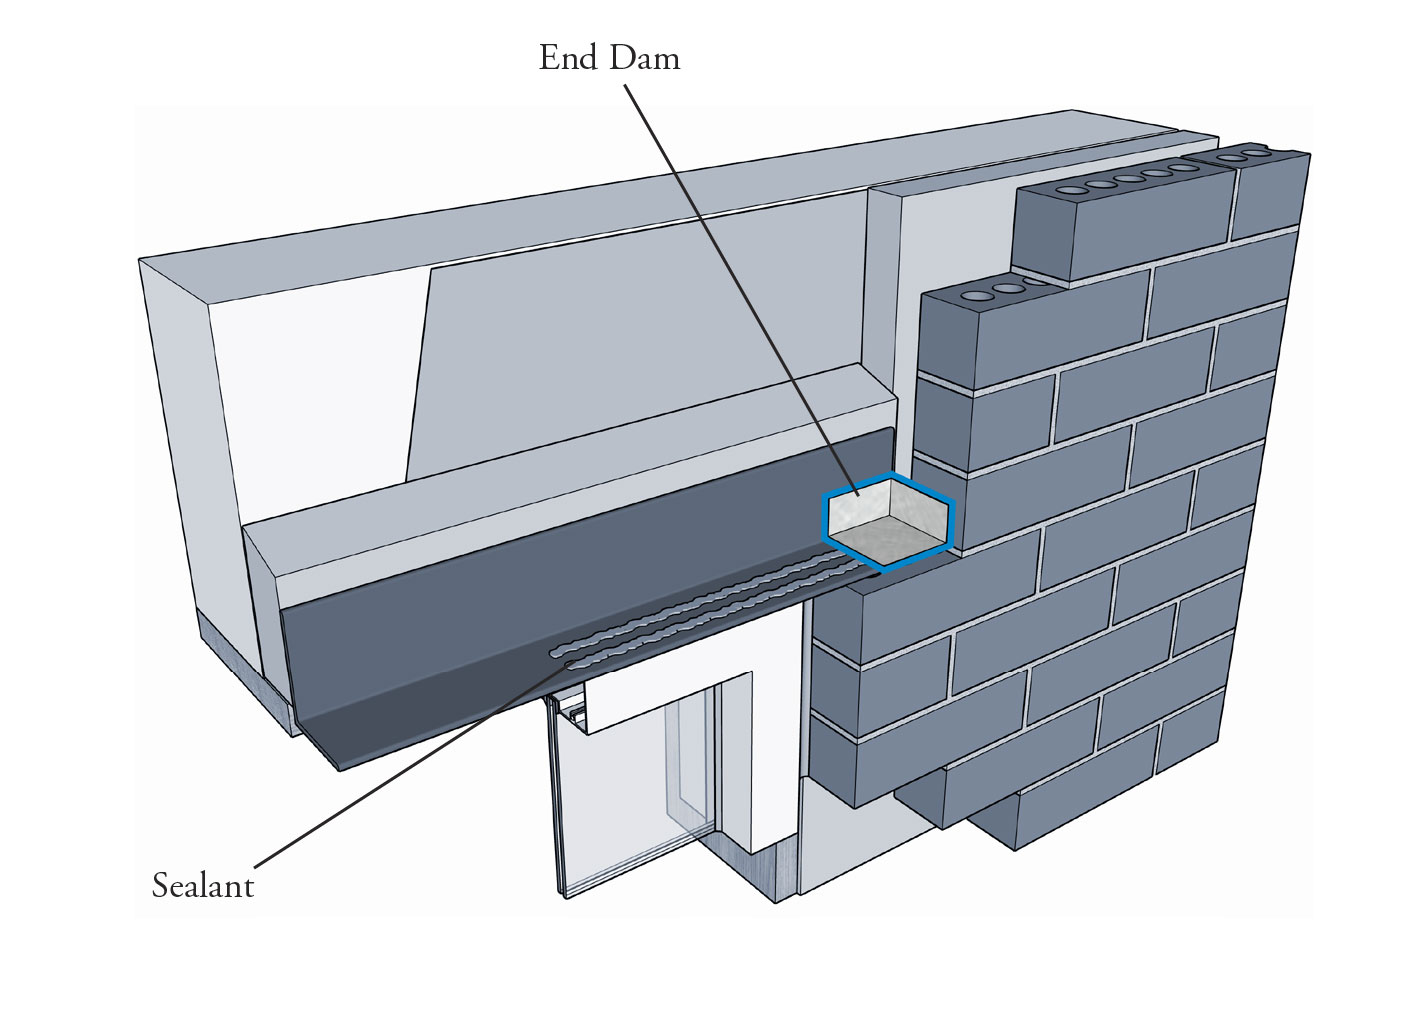
Through-Wall Flashing (TWF):
- Extend flashing 6” minimum beyond the opening. Fold flashing ends at the end of openings or horizontal flashing terminations to form end dam or use pre-manufactured units made of 26 gauge stainless steel.
- Flashing width: Width required starting flush with the outside face of exterior wythe, extending through the cavity, rising height required to extend above lintel steel at least 2”.
- Masonry back up:
- Surface apply after a dampproofing installation specified in Damp proofing/Air Barrier Section in accord with manufacturer’s installation instructions.
- Fasten the flashing to the masonry backup. Surface apply at the top by embedding in a layer of sealant or use a non-corrosive termination bar and fasten it to the backer wall at the top edge of the flashing. Seal the top edge with a compatible sealant or use a termination clamp, which is embedded in the block backup wall.
- Concrete back up:
- Surface apply after damp proofing/air barrier installation specified in damp proofing section in accord with manufacturer’s installation instructions.
- Fasten to concrete surface at the top by embedding in a layer of sealant or use a non-corrosive termination bar and fasten it to the backer wall at the top edge of the flashing and seal the top edge with a compatible sealant.
- Stud back up with sheathing:
- Fasten to stud backup at the top by embedding in a layer of sealant or use a non-corrosive termination bar and fasten it to the backer wall at the top edge of the flashing and seal the top edge with a compatible sealant.
- Leave ready for certified compatible building felt or air barrier installation lapping flashing top installed in another section.
- Fold ends of flashing at the end of the opening to form dam; seal with polyether sealant or use purchased manufacturers preformed end dams.
- Inside and outside corners: Make in an industry-accepted manner using corner and splice material or purchase manufactured corners from the manufacturer.
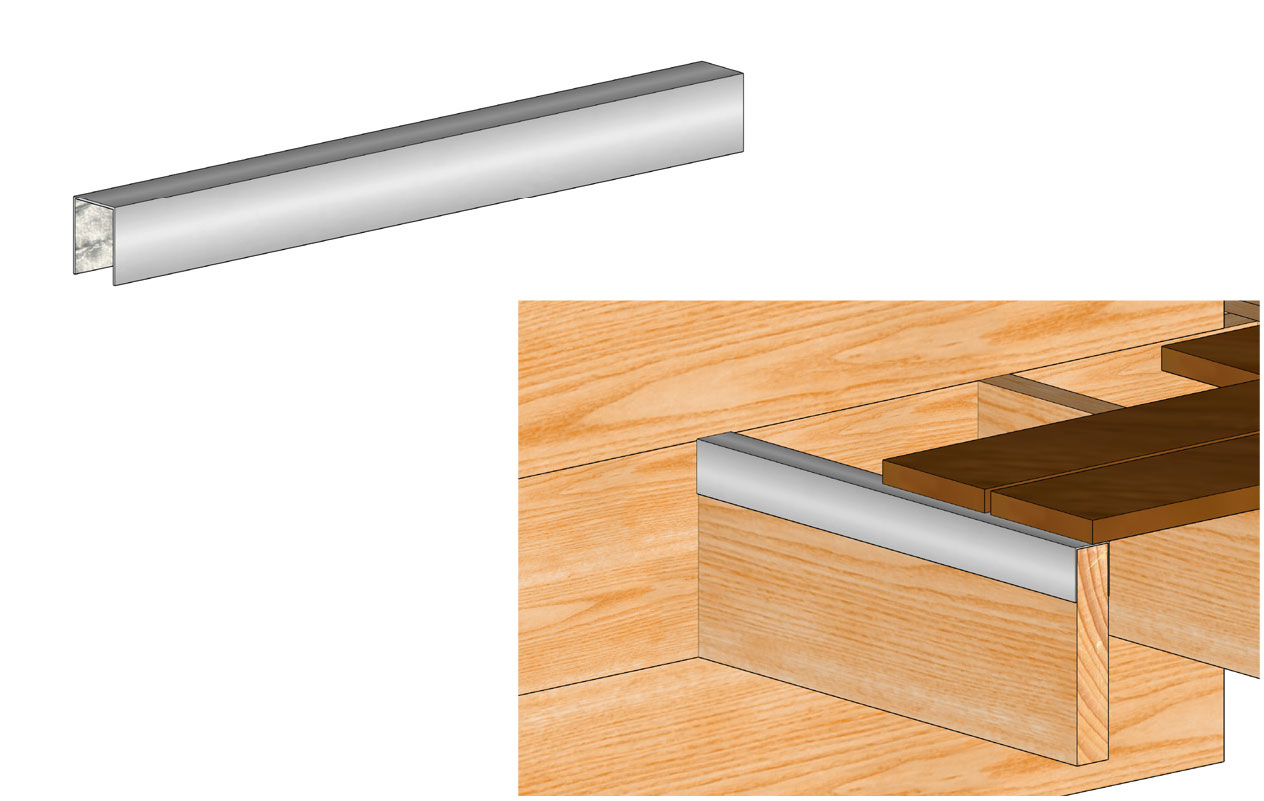
- Use stainless steel or copper drip edge at any location that the underside of the flashing will be exposed and deemed necessary by the design professional or authority having jurisdiction on the project.
- Cover flashing within a few days of installation to protect it from damage from the different trades, the environment, and falling debris. If the flashing is left unprotected and is punctured, torn, or damaged, you should contact the manufacturer for repair instructions.
York 304 SA
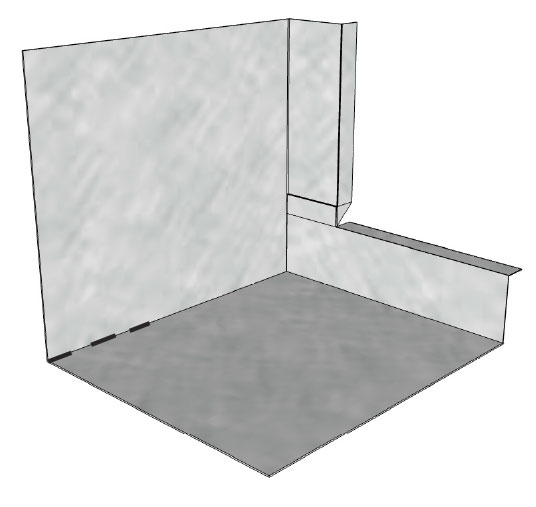
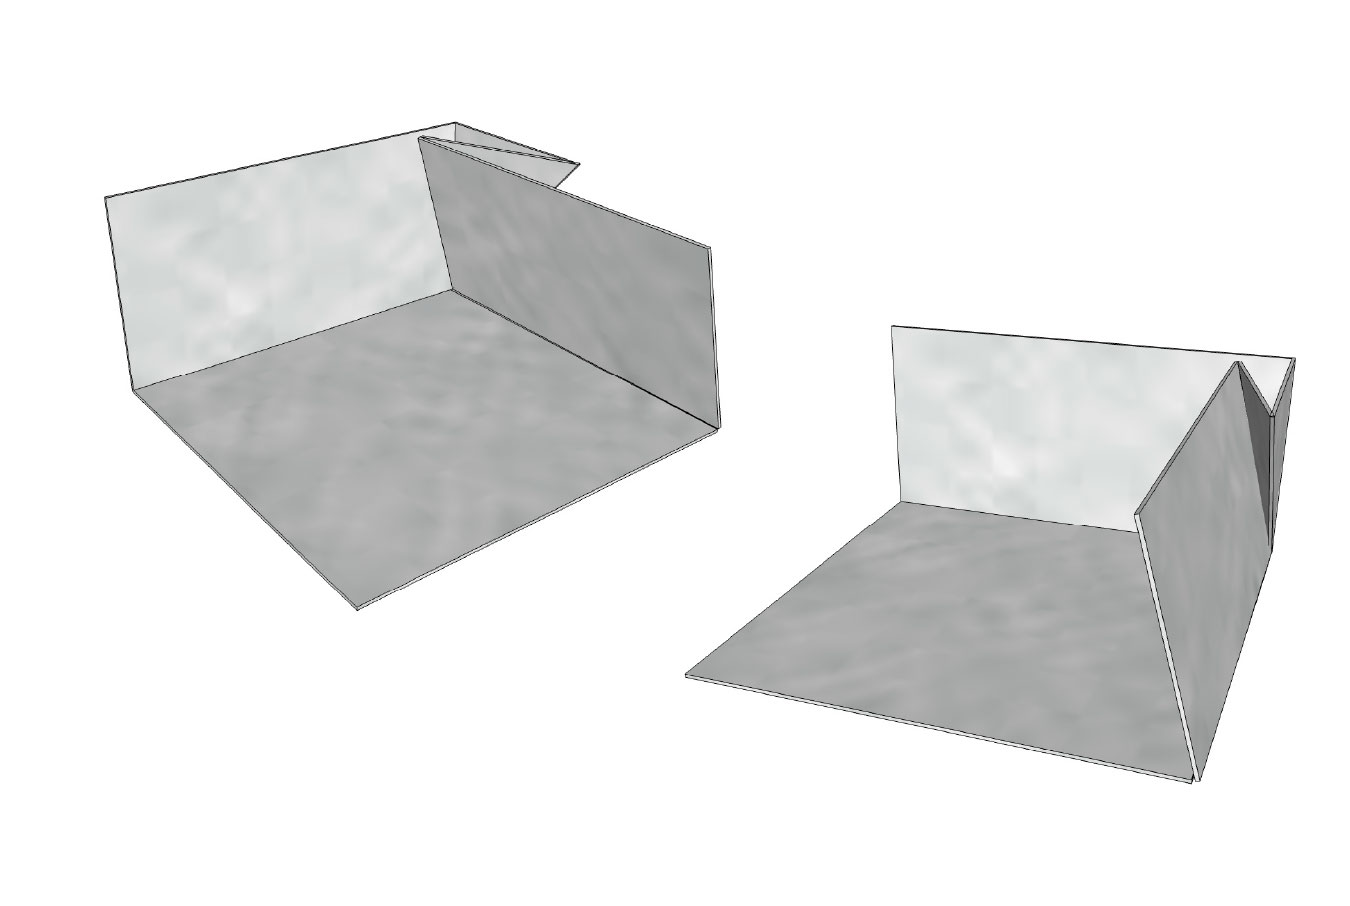
How to Fold a Sill Pan
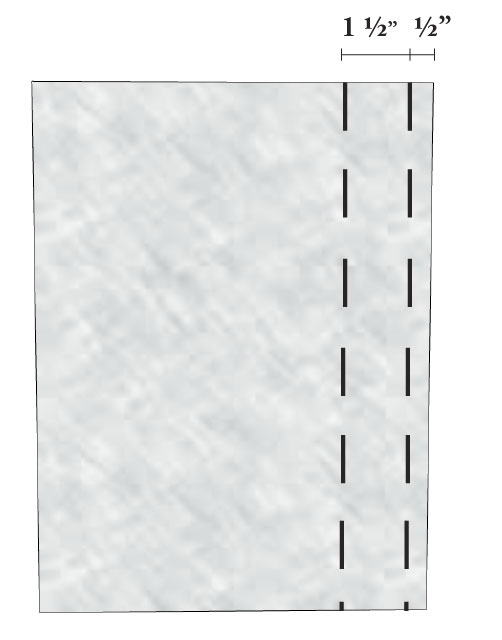
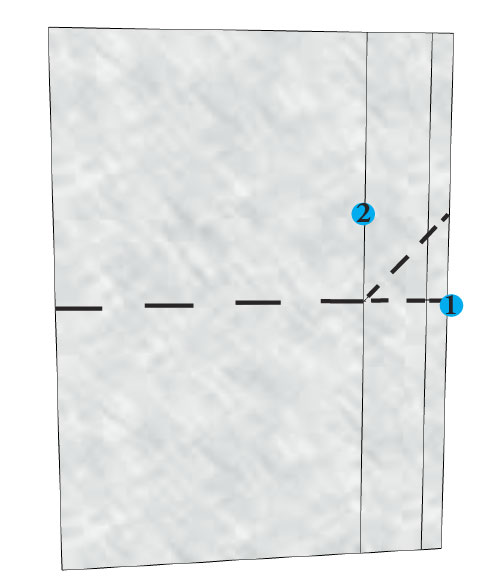
Fold the York 304 SA at the dotted lines

After creasing, lay the York 304 SA flat

Pull point 1 to point 2, while creasing on the diagonal dotted line

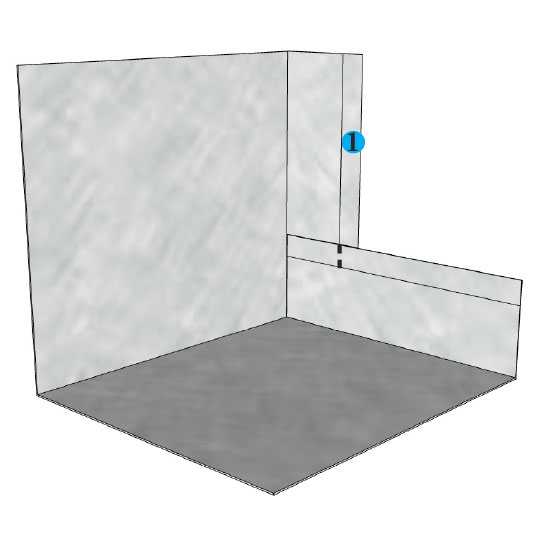
Remove the release liner in the highlighted area and firmly press all creases together

Cut at the dotted line and fold edges back
Make corners for both the left and right side of the rough opening

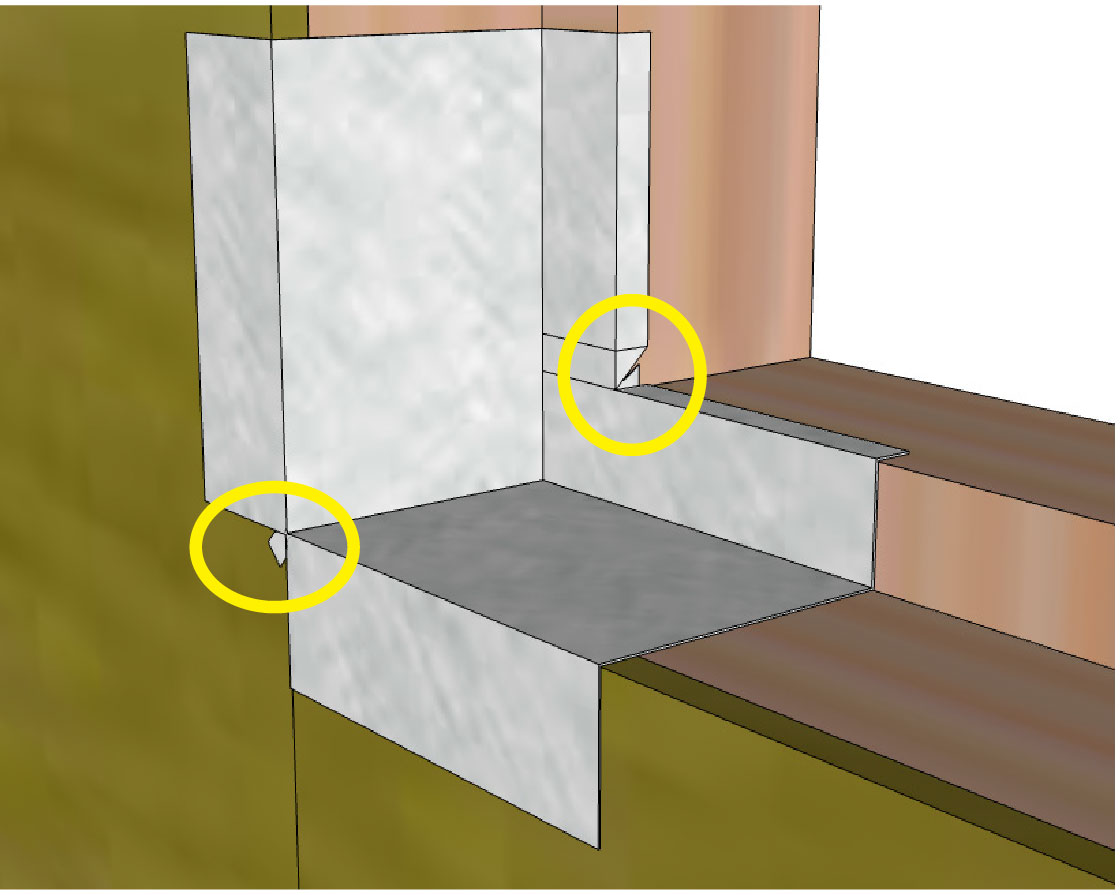
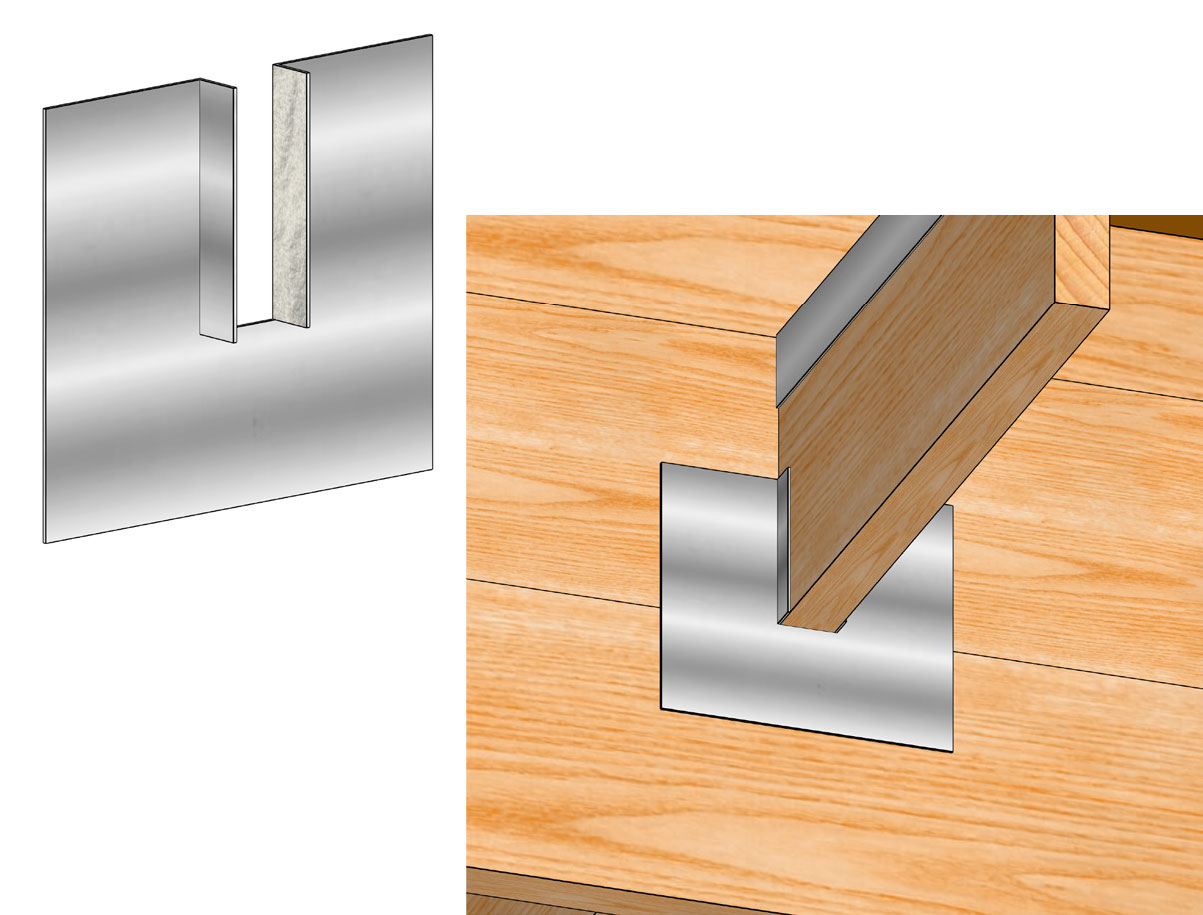
Required: Cut a dovetail piece to detail the pinhole location

Install the dovetail piece in the corner before the end dam. Remove the release liner from the backside of the yellow highlighted area (do not remove the release liner from the red outlined area) and install the corners.
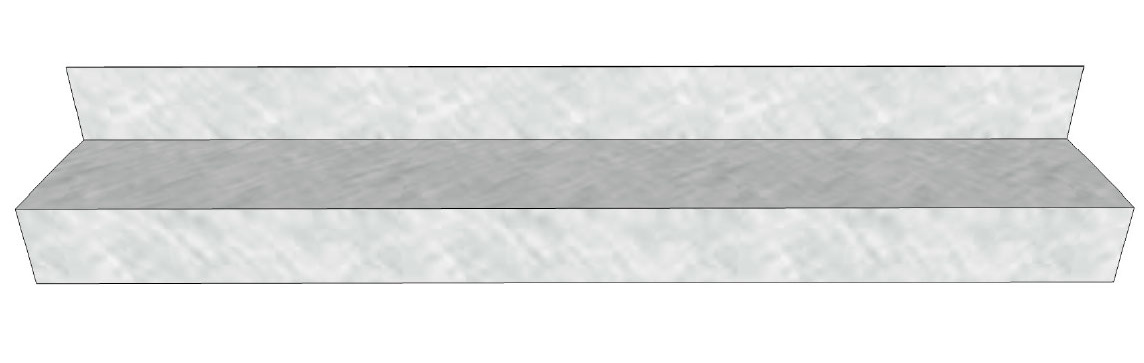
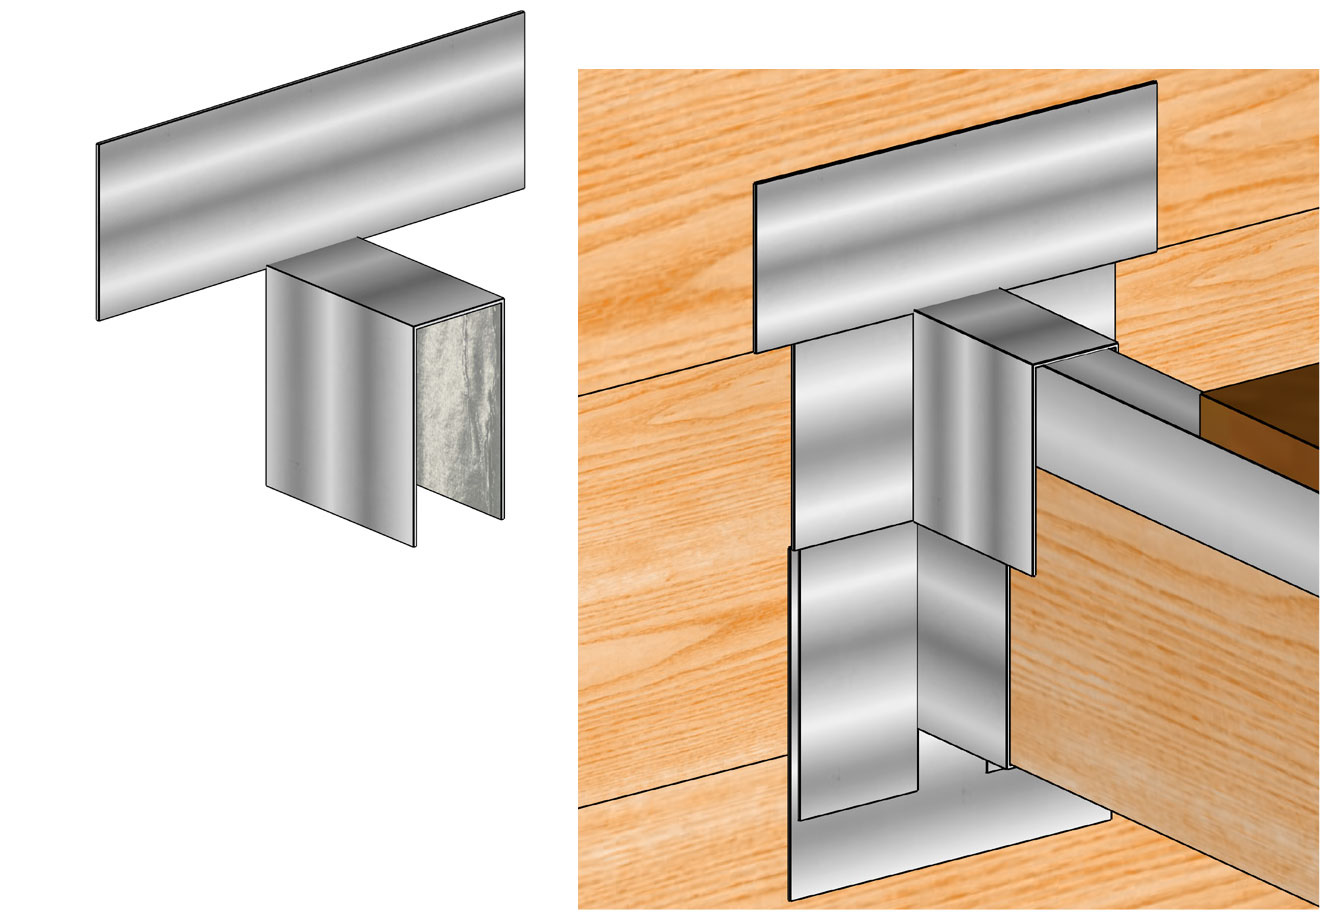
Cut the center piece and fold the back dam to match the corners
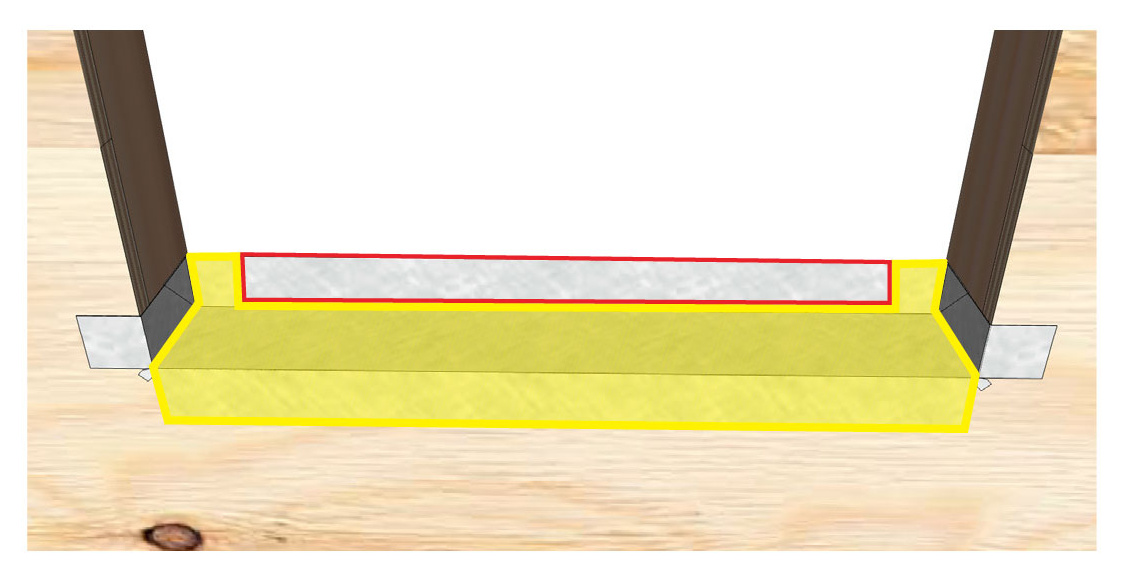
Remove the release liner from the backside of the yellow highlighted area (do not remove the release liner from the red outlined area) and install the center piece on the sill
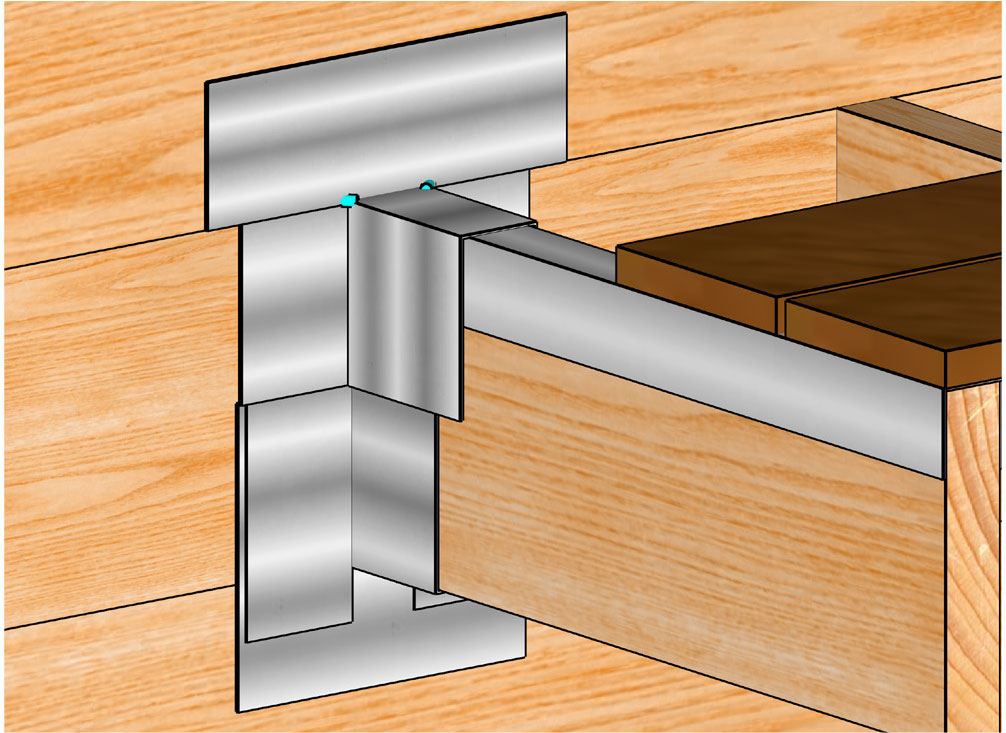
Required: Install the membrane using a hard roller and roll the membrane with constant, firm pressure to ensure uniform contact with the substrate.
York 304 SA
How to Fold an End Dam
 1. Fold the York 304 SA at the dotted lines
2. After creasing, lay the York 304 SA flat
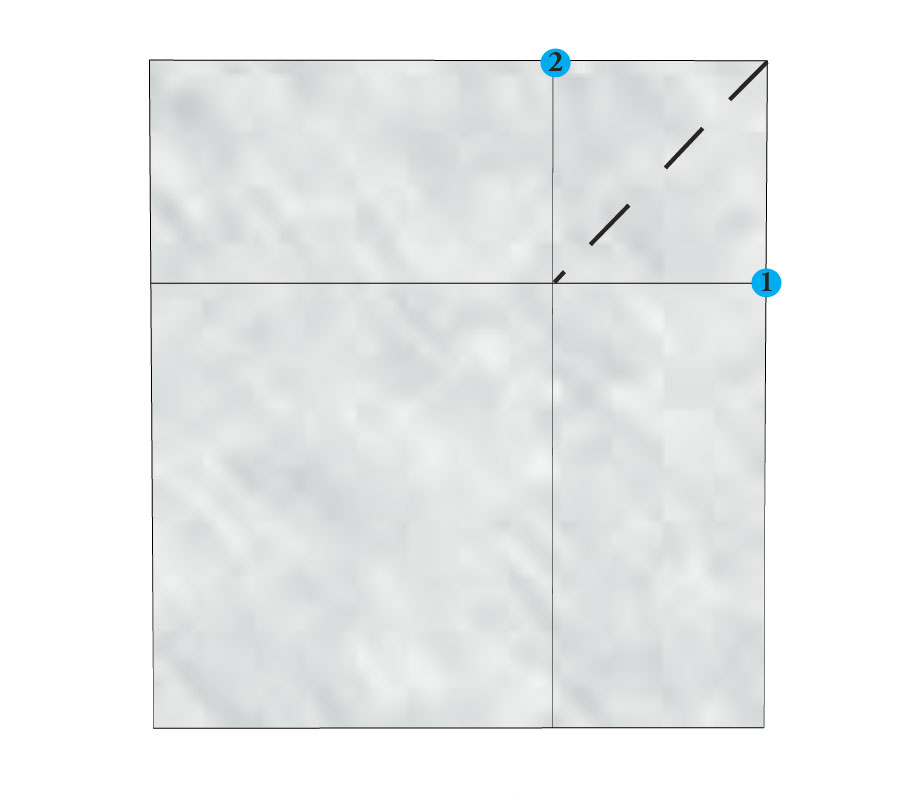
3. Pull point 1 to point 2, while creasing on the diagonal dotted line
4. Firmly press all creases together
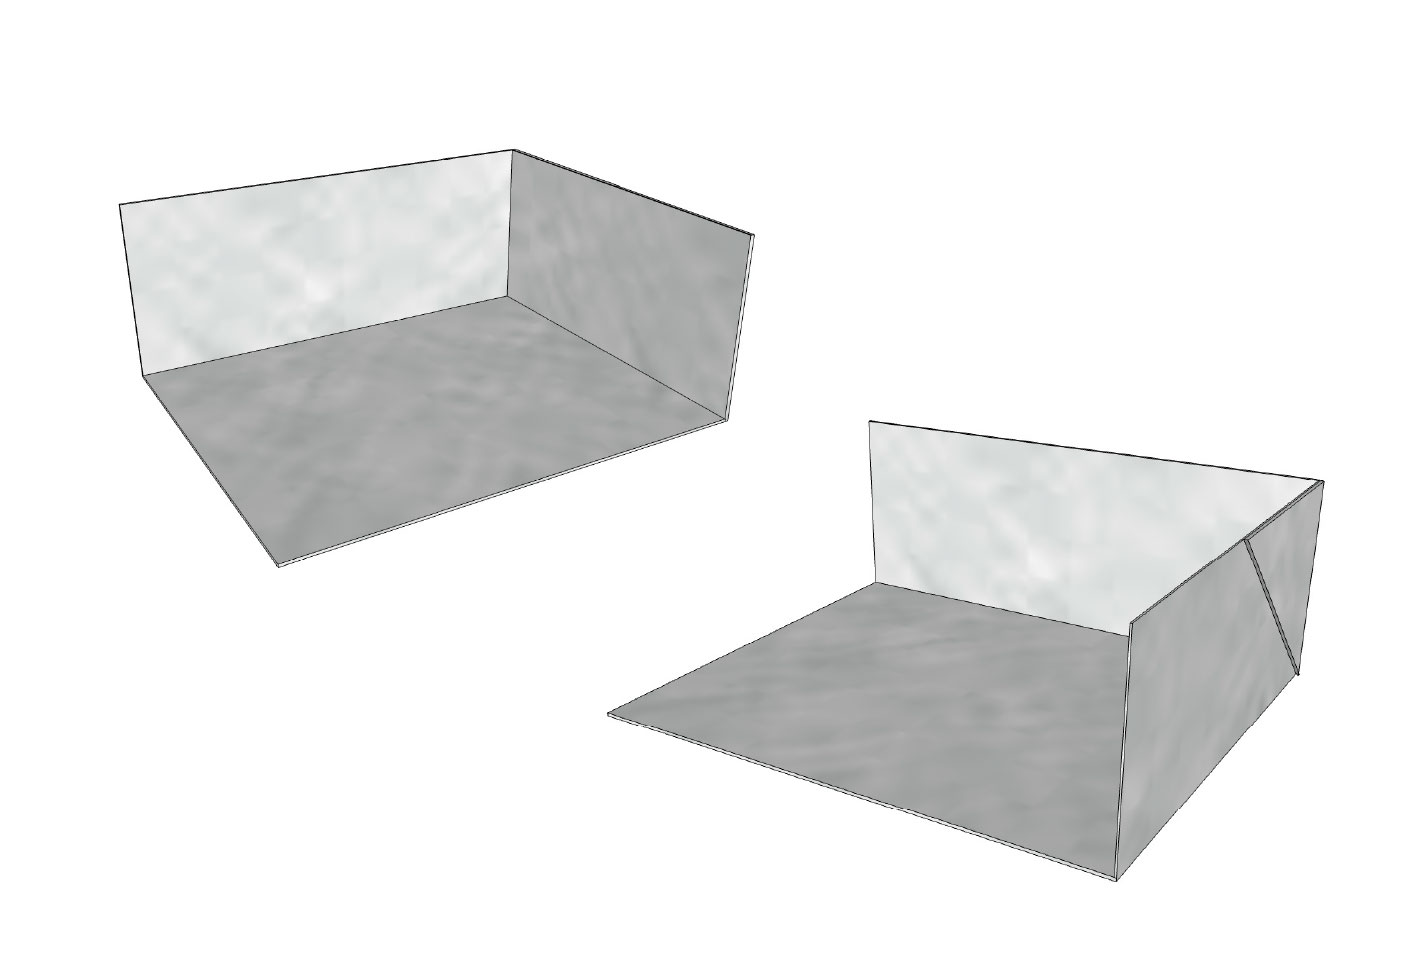
5. Your end dam is now ready to install
York 304 SA
How to Fold an Inside Corner in a Recesed Window
1.
2. 
3. 
4.
5.
6. 
York 304 SA
How to Fold an Inside Corner in a Recessed Window

1. Fold the York 304 SA at the dotted lines
2. After creasing, lay the York 304 SA flat
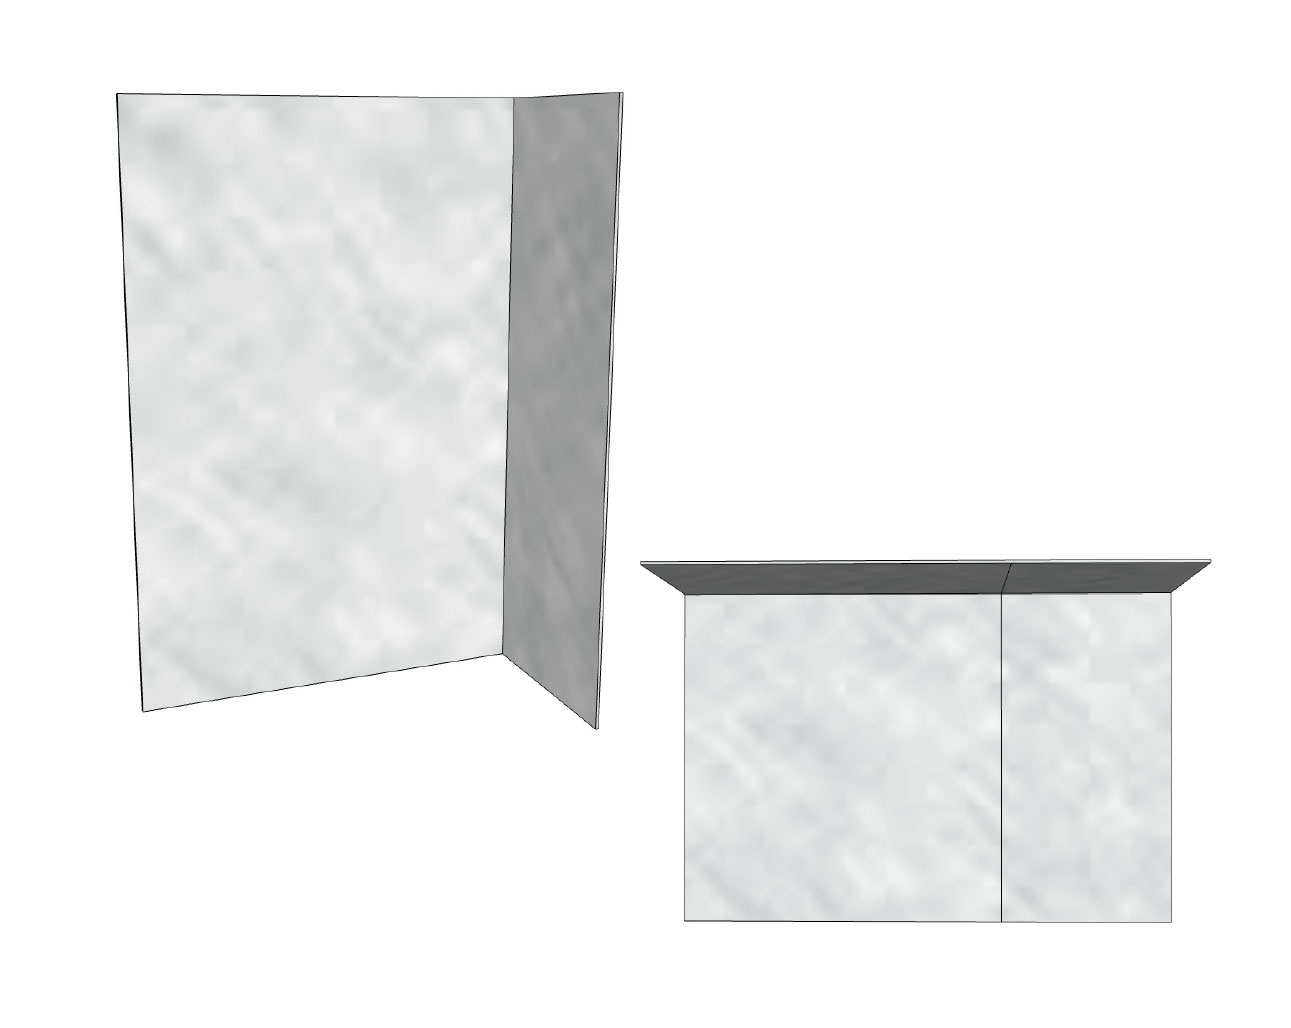
3. Crease the outside edges. Your corner is now ready to install
 4. Fold the York 304 SA at the dotted lines
5. Pull point 1 back. Cut at dotted line

6. Fold the 2 top flanges back. Cut at dotted line (minimum of 2”)
 7. Crease the outside edges. Your corner is now ready to install
 Required: Cut a dovetail piece to detail the pinholes locations.